I started up in hobbies when I was but a wee lad, when my dad became part owner of a little place called the New Fiction House in Homewood Illinois. This was way back in the nineties, and I immediately fell in love with almost every system out there. I started with Warhammer 40k and Necromunda, back in the heady days of happiness that were 2nd and 3rd edition. I went on to play almost every game that was made back then, Gorka Morka, Gothic, Inquisitor, BattleTech, Ogre, Warzone. You name it I at least tried it! I even dabble in the wonderful world of RPGs. But enough of those fond memories, I am now a happily married man expecting his first child, and newly thrust back into the wide world of the Grim Dark Future. I've started my own Space Marine Chapter, The Emperor's Musketeers, and play the 313th Cadian Imperial Guard as well. So look for me in some upcoming battle-reports when the forces of the Imperium are called upon to destroy the Xenos and Heretic Plagues of our galaxy!
Along those lines, here at our friendly local gaming store, ShieldBreakers, we're getting ready to start up a Crusade of Fire campaign at the end of February. My friend and myself were immediately fired up for this, tournaments are great and all, but the fluff, storyline, and grand competition is where our bread and butter is for happiness! However, we noticed something...we don't have a space station! How are we supposed to recreate an epic battle far above the planets in outer space if we don't even have any space rocks and buildings!? We'd never done it before, but how hard can it be!?
So we have decided to take it upon ourselves to create this wonderful set piece. Our materials are relatively simple and cheap.
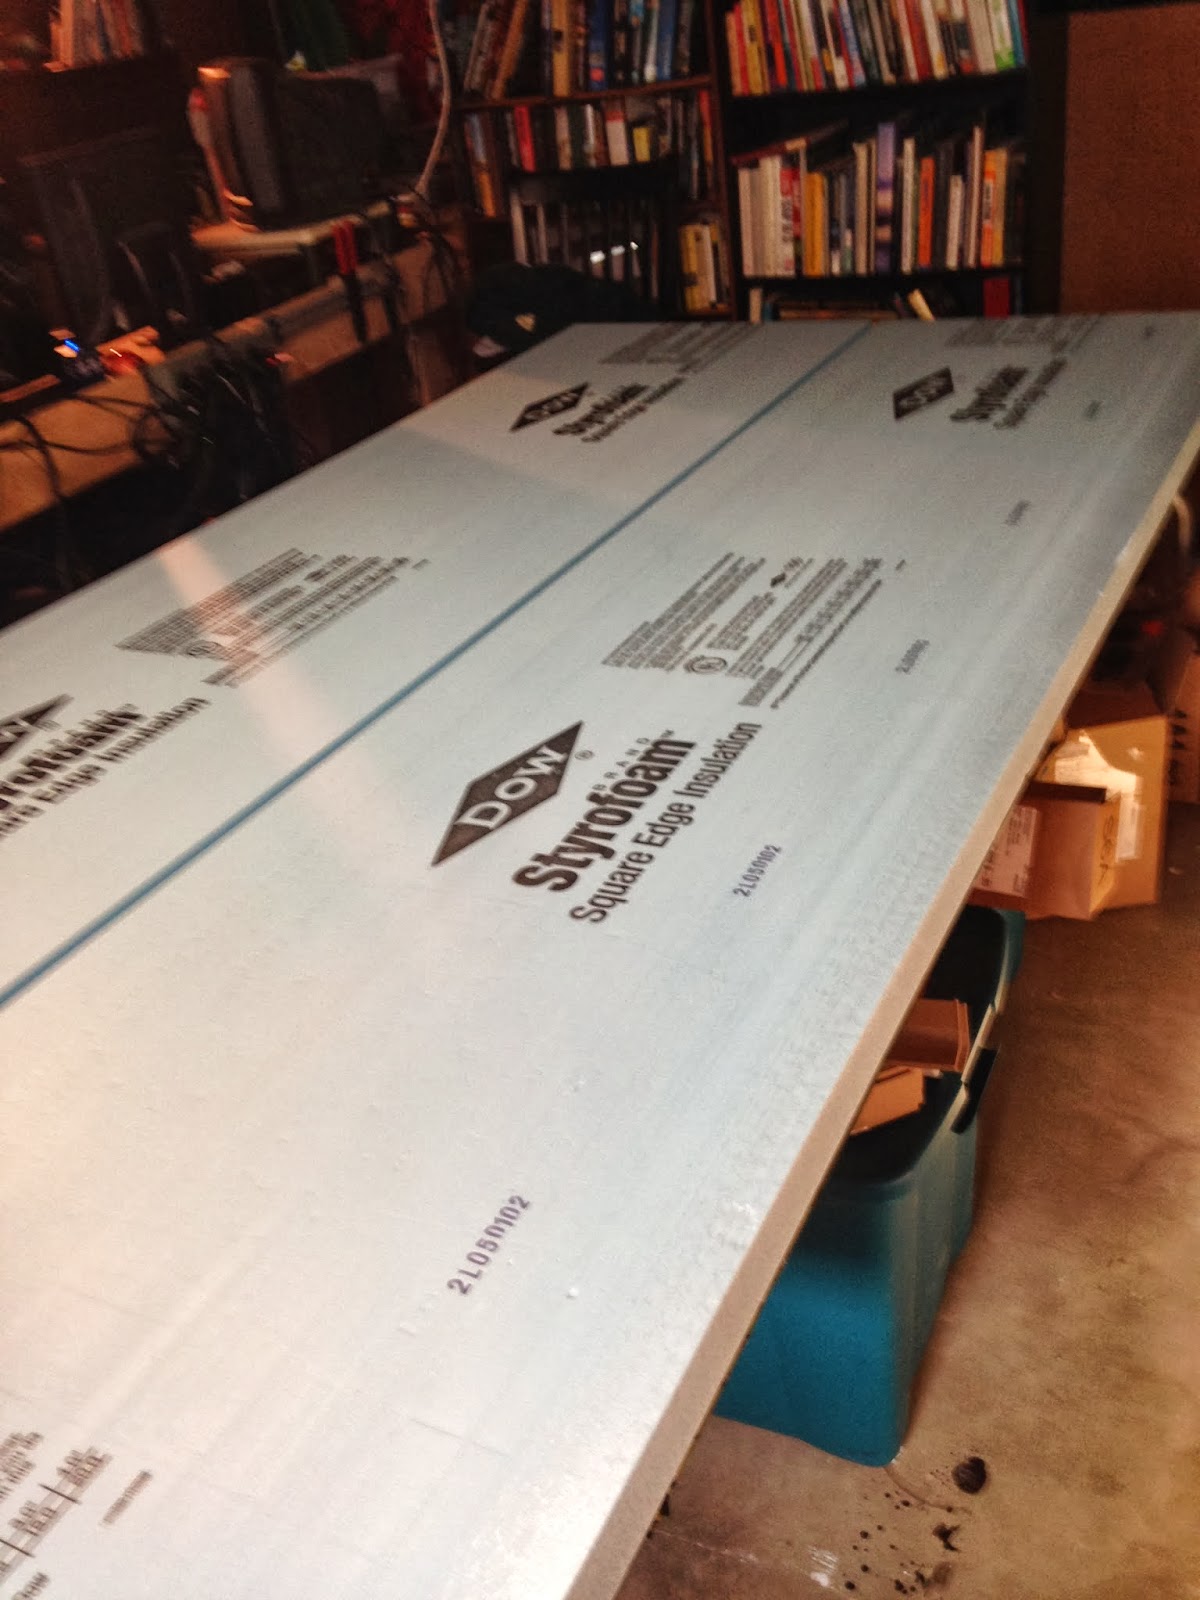
2 - Hardfoam sheets of insulation.You can find it in most Hardware stores, around $20-$30 a sheet.
 | |
| The Foam! We went with 2" thick Sheets. |
1 - Dremel
1 - Human Being equipped with the following
1 - Hack Saw
1 - File
1 - Sandpaper or Sanding block
1 - Box Cutter or similar cutting tool.
1 - Electrically Heated cutting Wire (Not actually needed but quite nice to do the end pieces quick)
We started by putting our glue down on the back side of one sheet, and then stacked them together. As this was our first time doing this we then proceeded to try and shape after about 30 minutes of drying. This was a mistake, as we were suddenly reshifting things together after cutting. So we settled on putting down our traceries for future cutting.
 |
| Stacked and Glued |
 |
| Our Mistake, if you look you can see the edges are a little off. |
Moving on, and learning that PVA Glue takes forever to set, (some two hours later, pieces were still shifting) we decided to weigh all of this down and try again in another couple of hours.
 |
| We are very hi-tech when it comes to weights. |
We then came back and started our rough cuts, for scale and playability we've opted for 2 - 12" Rocks, 2 - 8' rocks, and 1 - 15" rock. One of our 12" rocks will become a scratchbuilt landing pad, and the other rocks will house the various buildings and defenses of the space station.
 | |
| The first 12" rock got cut a smidge to small by an overzealous cutter. |
 | |
| 4" deep foam, we don't want models falling too far! |
 | ||
| The pre-finished, rough product! |


No comments:
Post a Comment